
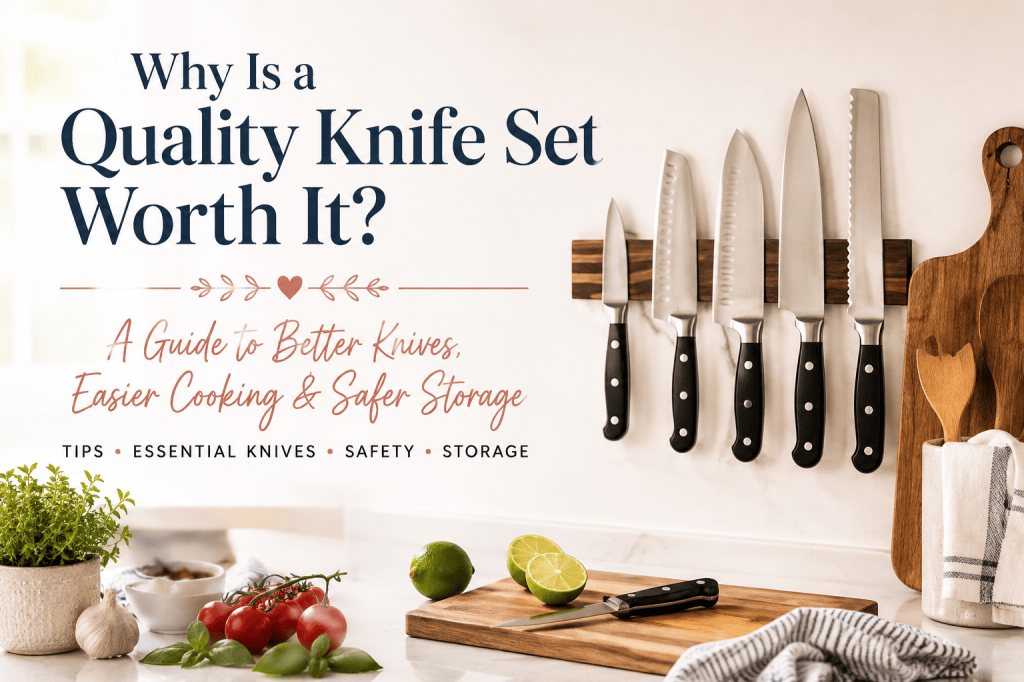
A good knife set can completely change how cooking feels.
When your knives are sharp, balanced, comfortable to hold and suited to the task, chopping vegetables, trimming meat and preparing everyday meals becomes faster and far less frustrating. When your knives are flimsy, awkward or permanently dull, even cutting an onion can feel like unnecessary work.
That does not mean everyone needs an enormous professional knife collection. In fact, a few well-made knives that you genuinely use are usually more valuable than a giant inexpensive block filled with blades you cannot identify.
The goal is not to own the most knives. It is to have the right knives, take care of them properly and store them somewhere safe without sacrificing half your counter.
Why a Quality Knife Set Is Worth the Investment
The cheapest knife set may look like a bargain, especially when it includes a large block and an impressive number of pieces. The problem is that quantity does not automatically give you quality or usefulness.
A better knife should feel comfortable and controlled in your hand. It should cut cleanly without requiring excessive pressure, hold its edge reasonably well and be sturdy enough for the jobs it was designed to perform.
Better knives can make cooking easier because they offer:
- More comfortable handles
- Better balance between the blade and handle
- Cleaner, more controlled cuts
- Stronger construction
- Better edge retention
- Knives designed for specific jobs rather than filler pieces
- A cooking experience that feels smoother instead of exhausting
A bargain set may still work for a while, but if the blades dull quickly, the handles become uncomfortable or half the included knives never leave the block, it may not be the value it appeared to be.
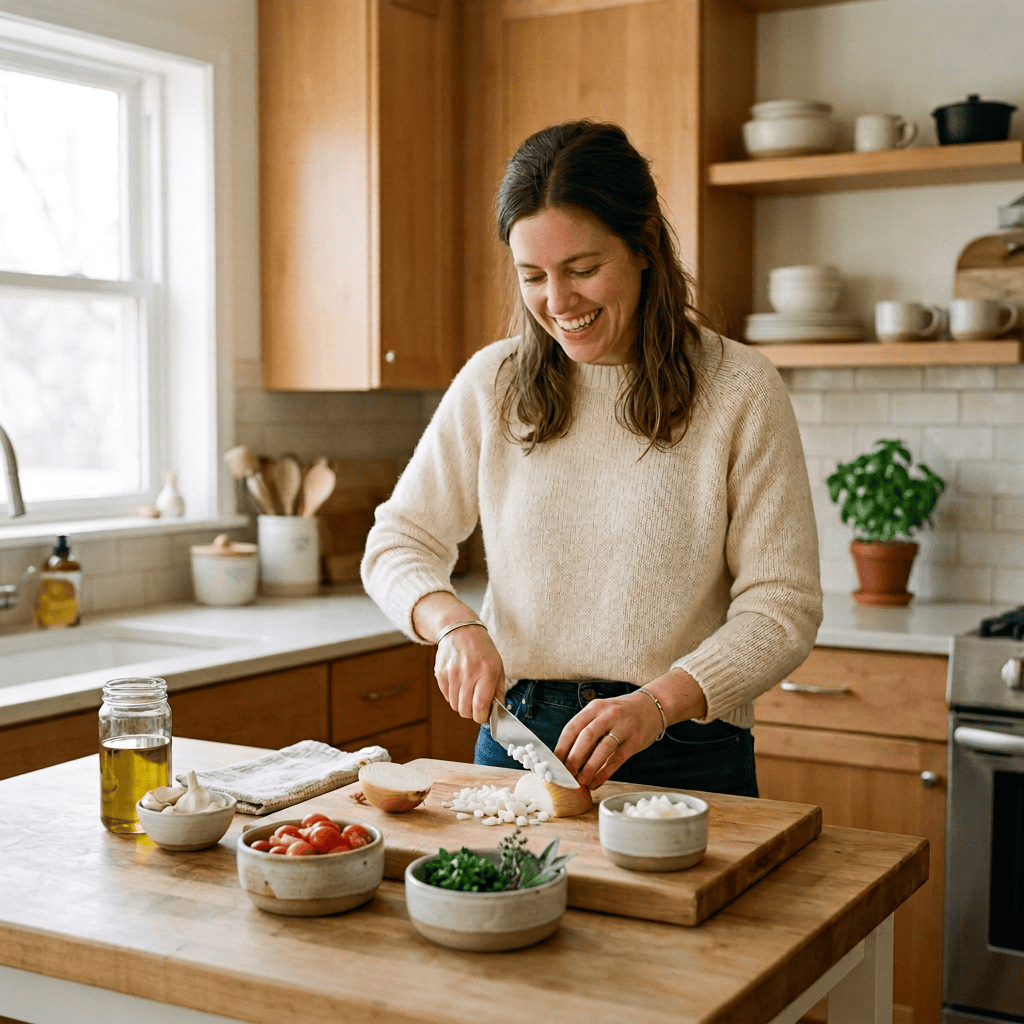
You Do Not Necessarily Need the Biggest Set
A large set can be convenient when every knife serves a purpose, but many home cooks could begin with three excellent knives:
Those three can handle a huge percentage of ordinary kitchen tasks.
From there, add specialty knives based on what you actually cook. Someone who frequently prepares fish may benefit enormously from a fillet knife. Someone who roasts meat regularly may appreciate a long slicing knife. A person who chops piles of vegetables may love a nakiri.
The best knife collection is personal. It should reflect your food, your hands and the way you cook.
The Most Important Kitchen Knives
Chef’s Knife
A chef’s knife is the primary workhorse in most kitchens.
Use it for:
- Chopping onions
- Slicing vegetables
- Mincing herbs
- Cutting meat into portions
- Crushing garlic
- Preparing fruit
- Handling most general meal preparation
If you only invest heavily in one knife, this is usually the one to prioritize.
A chef’s knife should feel secure rather than heavy and cumbersome. Try to pay attention to the handle shape, blade length and overall balance. A knife that feels perfect to one person may feel awkward to someone with smaller hands or a different grip.
Paring Knife
A paring knife is designed for small, controlled jobs that would feel clumsy with a large chef’s knife.
Use it for:
- Slicing a lime for a drink
- Removing strawberry tops
- Trimming fruit
- Peeling produce
- Cutting small pieces of cheese
- Removing blemishes from potatoes
- Detailed garnishing
- Small snack preparation
This is one of those knives that can seem insignificant until you realize how often you need to cut one tiny thing.
I especially like keeping a small cutting board and paring knife available for quick jobs. Not every cutting task is part of a large dinner. Sometimes you simply need half a lemon for tea or a lime wedge for a drink without turning the whole counter into a prep station.
Serrated Bread Knife
A serrated knife works especially well on foods that have a firmer exterior and a softer interior.
Use it for:
- Bread loaves
- Bagels
- Rolls
- Tomatoes
- Layer cakes
- Soft pastries
- Some melons and thick-skinned produce
The serrations grip the surface so the knife can saw through it without crushing everything underneath.
Do not underestimate this knife just because it is called a bread knife. It can be one of the most useful blades in the kitchen.
Specialty Knives That May Transform the Way You Cook
You do not need every specialty knife below. However, one of them may solve a recurring kitchen frustration you did not realize had a purpose-built tool.
Santoku Knife
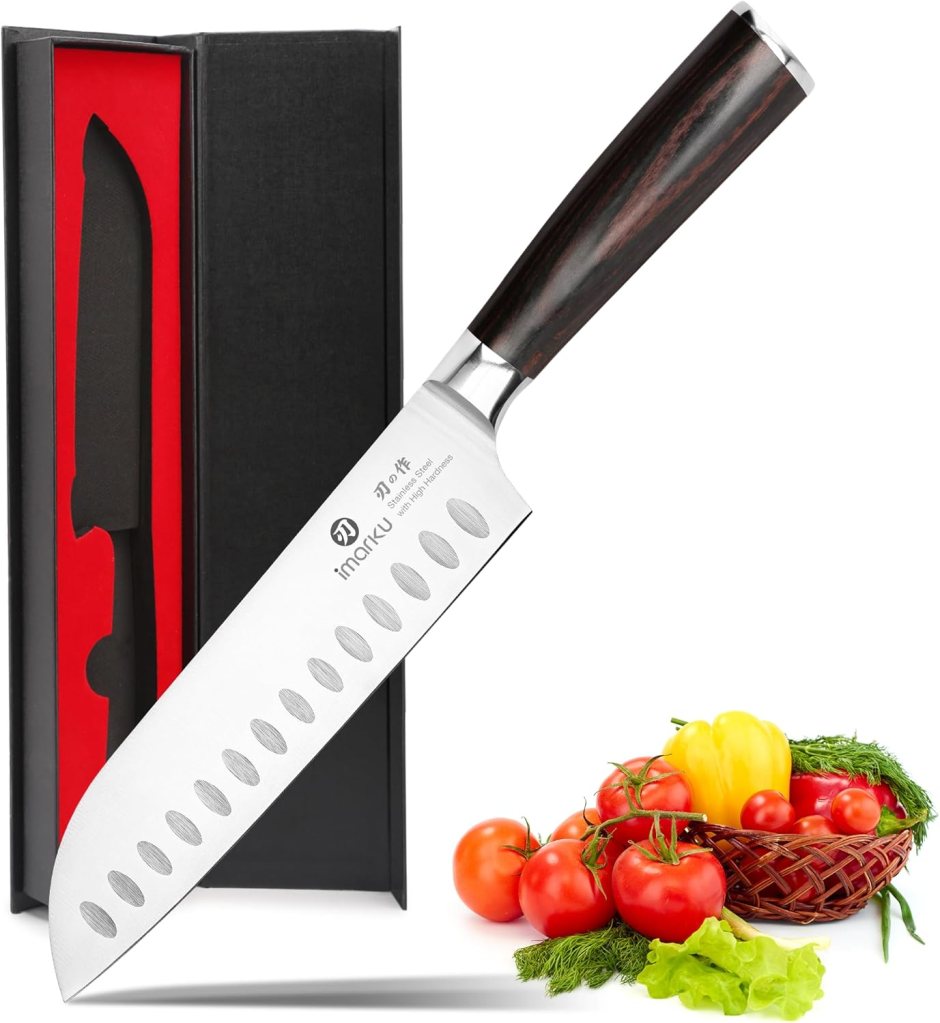
A santoku is a versatile Japanese-style knife commonly used for slicing, dicing and chopping.
It is often shorter and lighter than a traditional chef’s knife, which some cooks find easier to maneuver. The flatter cutting edge also suits a more direct chopping motion rather than the pronounced rocking motion often used with a curved chef’s knife.
A santoku may be a good choice when you:
- Prepare vegetables frequently
- Prefer a lighter knife
- Have smaller hands
- Like precise, thin slices
- Do not enjoy using a long chef’s knife
You may choose either a chef’s knife or a santoku as your main everyday blade. Plenty of cooks own and enjoy both. I personally use my santoku way more than my chef’s knife.
Nakiri Knife
A nakiri has a rectangular blade designed primarily for vegetables.
It is excellent for:
- Cabbage
- Carrots
- Onions
- Leafy greens
- Squash
- Large quantities of vegetable prep
- Thin, even slices
It may look slightly like a cleaver, but it is not intended for chopping through bones. The flat blade lets more of the edge contact the cutting board at once, which can make repetitive vegetable chopping feel wonderfully efficient.
Utility Knife
A utility knife falls between a chef’s knife and a paring knife.
It is useful when a chef’s knife feels unnecessarily large but a paring knife feels too small.
Use it for:
- Sandwich ingredients
- Smaller vegetables
- Fruit
- Cheese
- Boneless meat
- Everyday lunch preparation
This is not essential for everyone, but it can become a frequently used favorite.
Boning Knife
A boning knife has a narrow blade that helps work around bones, joints and connective tissue.
Use it for:
- Deboning chicken
- Removing skin
- Trimming fat
- Separating meat from bones
- Preparing larger cuts of meat
Some boning knives are flexible, while others are more rigid. The right choice depends on the type of meat you prepare most often.
Fillet Knife
A fillet knife is generally thinner and more flexible than a boning knife.
It is designed to move smoothly along bones and beneath the skin of fish.
Consider one if you regularly:
- Clean whole fish
- Remove fish skin
- Portion fillets
- Prepare freshly caught fish
Someone who rarely buys whole fish may not need one. Someone who fishes or cooks seafood constantly may consider it indispensable.
Carving or Slicing Knife
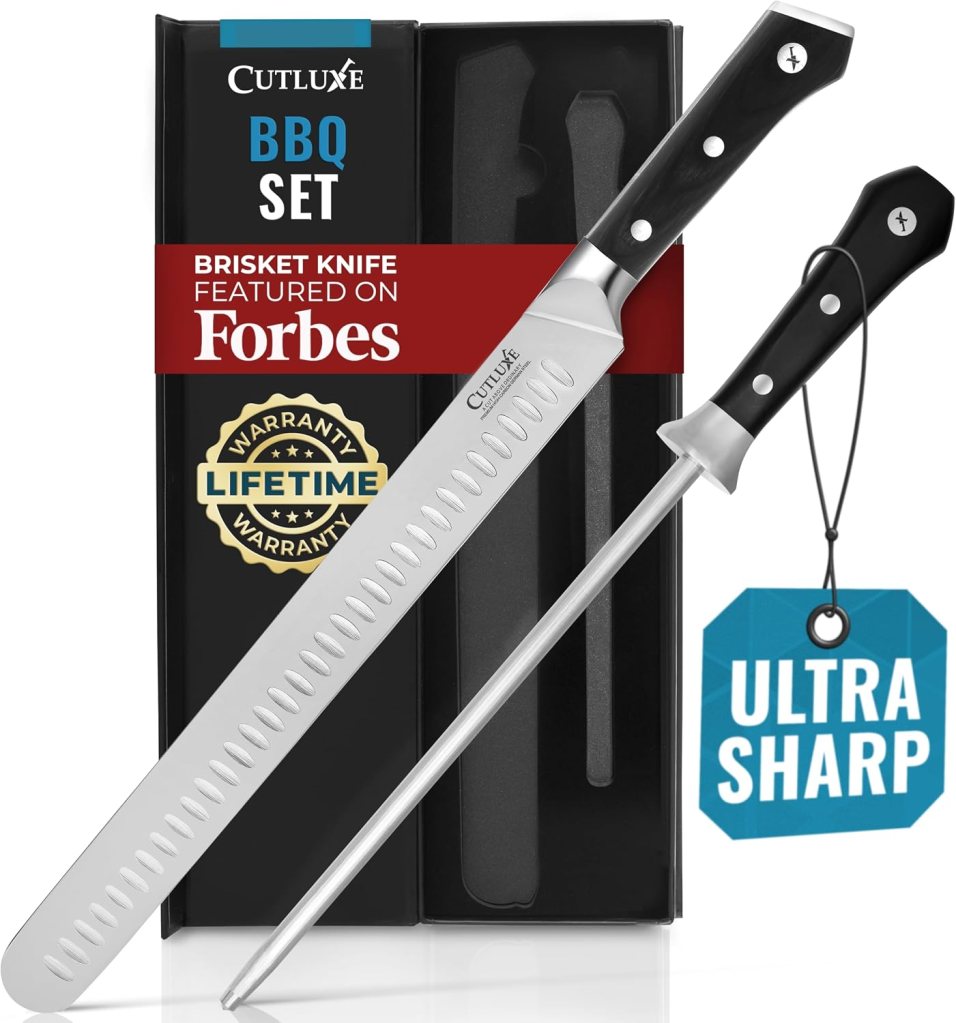
A long carving or slicing knife helps create smooth, even slices from cooked meats.
Use it for:
- Turkey
- Ham
- Roast beef
- Brisket
- Pork loin
- Large holiday roasts
The long blade can pass through a larger portion of meat in fewer strokes, helping produce cleaner slices.
Meat Cleaver
A traditional meat cleaver is a heavy blade made for tougher work.
Depending on its construction, it may be used for:
- Chopping through small bones
- Dividing joints
- Breaking down large cuts
- Heavy meat preparation
Do not confuse every rectangular knife with a bone-cutting cleaver. A thin Chinese-style chef’s knife and a heavy meat cleaver may look similar from a distance but are designed for very different jobs.
Chinese-Style Chef’s Knife
A Chinese-style chef’s knife has a broad rectangular blade but is often used for slicing, chopping and general preparation rather than smashing through hard bones.
The wide blade can also help transfer chopped ingredients from the board to a bowl or pan.
Because designs vary, always check what the individual knife is made to handle.
Tomato Knife
A tomato knife is a small serrated blade designed to pierce tomato skin without crushing the soft interior.
Most people can use a serrated bread knife for this job. However, a smaller tomato knife can be convenient if tomatoes appear in your meals almost every day.
Cheese Knives
Different cheese knives are designed for different textures.
Examples include:
- Narrow blades that reduce sticking
- Perforated blades for soft cheese
- Spade-shaped knives for hard cheese
- Small cleavers for firm blocks
- Pronged tips for serving pieces
A dedicated cheese-knife set may be unnecessary for everyday sandwiches, but it is useful for someone who frequently entertains or serves cheese boards.
Oyster and Clam Knives
These short, sturdy tools are designed for opening shellfish.
An oyster knife is not simply a small paring knife. It is constructed to work around the shell and hinge more safely.
Anyone who regularly shucks shellfish should use the proper tool rather than risking a broken kitchen knife—or an injured hand.
Mezzaluna
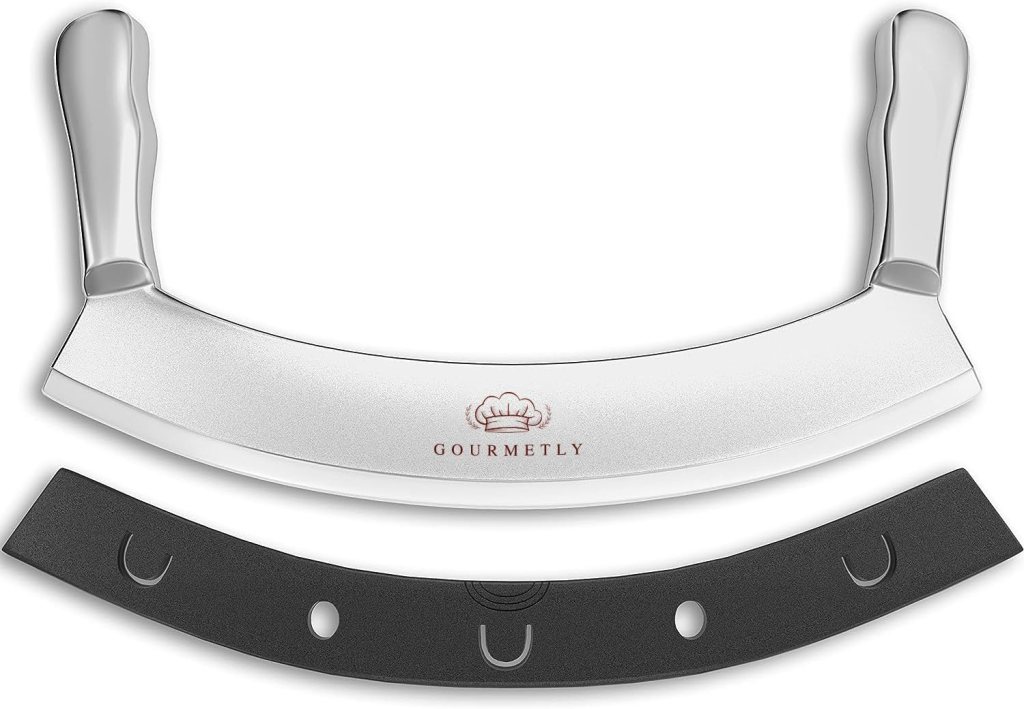
A mezzaluna is a curved blade, sometimes with one handle and sometimes with two, that rocks across a cutting surface.
It can be useful for:
- Chopping herbs
- Preparing chopped salads
- Cutting pizza
- Mincing ingredients
- Repetitive rocking cuts
It is definitely a specialty tool, but someone who makes chopped salads or herb-heavy dishes constantly may love it.
Electric Carving Knife
An electric knife is not necessary for most daily cooking, but it can help with:
- Large holiday turkeys
- Ham
- Roasts
- Homemade bread
- Frequent entertaining
It may be particularly useful for someone with limited hand strength or anyone who regularly slices large quantities at once.
A Few Excellent Knives Are Better Than a Block Full of Bad Ones
A low-priced set containing fifteen or twenty pieces can be tempting. However, those sets often include several nearly identical knives, extra steak knives and specialty blades that may never be used.
I would rather have:
- One excellent chef’s knife
- One comfortable paring knife
- One dependable serrated knife
- A few specialty knives chosen for my actual cooking
- Safe storage
- A proper sharpening plan
The value comes from usefulness, not the total piece count printed on the box.
How to Choose a Knife That Feels Right
Knife quality matters, but comfort matters too.
When possible, pay attention to:
Balance
The knife should not feel as though the blade or handle is dragging your hand downward. A balanced knife is easier to control during repetitive prep.
Handle Comfort
Look for a handle that fits your hand securely without creating pressure points.
Consider:
- Handle thickness
- Grip texture
- Shape
- Weight
- Whether your knuckles have enough clearance above the board
Blade Length
A standard chef’s knife is often around eight inches, but that does not mean everyone must use one.
A shorter knife may feel more manageable. A longer knife may work better for someone preparing large vegetables or cuts of meat.
Construction
Some knives are forged from a thicker piece of metal, while others are stamped from a sheet. Both construction methods can produce useful knives.
Do not assume one manufacturing term automatically guarantees that a knife will suit you. Overall materials, design, edge quality and comfort matter more than impressive-sounding packaging.
Your Actual Cooking Habits
Do not buy for the fantasy version of yourself who will suddenly butcher whole fish every weekend.
Buy for the food you really prepare.
Knife Safety Tips Every Cook Should Know
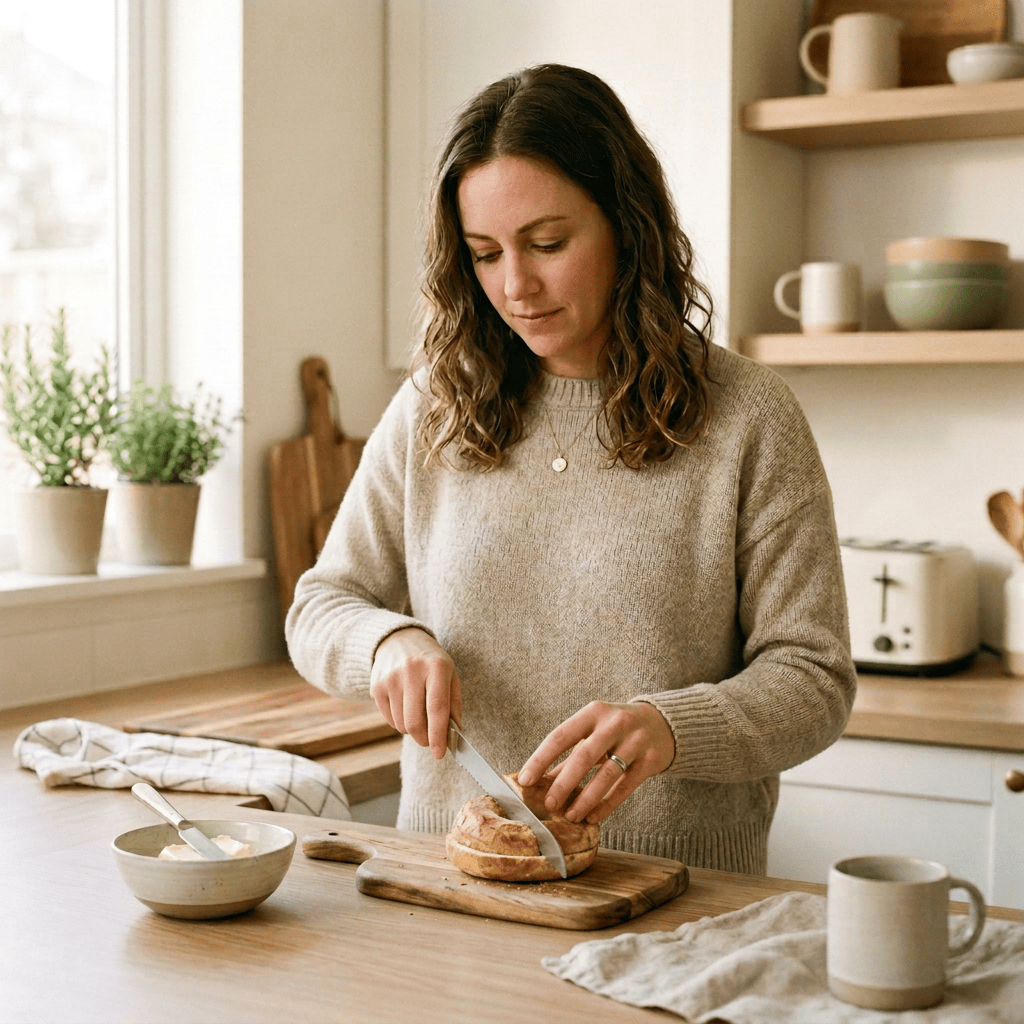
Even a careful, experienced cook can have an accident when distracted or rushing.
I cooked for decades without cutting myself. Then one day I held a bagel in my hand and sliced it in the air with a serrated bread knife while talking to my mom and watching television. The knife went through farther than I expected, and I cut my hand.
It was such a preventable mistake—and it happened precisely because I had done similar little jobs so many times that they no longer felt dangerous.
My mother was so upset that she stopped letting me slice her bread and now prefers buying it pre-cut.
Always Put the Food on a Cutting Board
Never hold a bagel, roll, piece of fruit or other food in your palm while cutting toward your hand.
Place it on a stable board first.
Use the Right Grip
For most chef’s-knife work, a controlled grip close to the blade gives you better command than holding the very end of the handle.
Many cooks use a pinch grip:
- Pinch the blade near the handle between your thumb and index finger.
- Wrap the remaining fingers around the handle.
- Keep the grip secure without squeezing so hard that your hand becomes tense.
For small precision work with certain knives, an index finger along the spine may help guide the blade. However, that is not the best universal grip for routine chopping with a chef’s knife.
Use a Claw With Your Guiding Hand
Curl the fingertips of your non-knife hand inward and use the knuckles as a guide.
This helps keep the fingertips behind the blade rather than directly in its path. Utah State University Extension also recommends curling the fingers under and guiding the blade with the knuckles to reduce the risk of fingertip cuts.
Create a Flat Surface
Round foods roll.
Before slicing an onion, potato, squash or similar ingredient, cut a flat side and place that side down on the board.
Stabilize the Cutting Board
A board that slides is dangerous.
Place a damp kitchen towel, nonslip mat or grippy board liner underneath it if needed.
Keep Your Eyes on the Cutting
Talking while cooking is part of the fun. Looking across the room, watching television or turning toward someone while the knife is moving is not.
Pause the cut when your attention moves elsewhere.
Keep Knives Out of the Sink
Never leave a knife hidden beneath soapy water, dishes or towels.
Someone can reach into the sink without realizing it is there.
Wash the knife separately, dry it and return it to storage.
Never Try to Catch a Falling Knife
Step back and let it fall.
Trying to grab it instinctively can turn a dropped tool into a serious injury.
Carry Knives Carefully
When moving through the kitchen, hold the knife down at your side with the blade facing behind you.
Announce yourself when other people are nearby.
Do Not Scrape the Sharp Edge Across the Board
Use the spine of the knife or a bench scraper to move chopped ingredients.
Scraping the cutting edge sideways against the board can dull or damage it.
Why Sharp Knives Matter
A dull knife does not automatically become harmless.
A blade that will not bite into food cleanly may require more pressure, which can reduce control if it suddenly slips.
Inspect knives regularly and sharpen them before they become frustrating to use.
Honing and Sharpening Are Not the Same
These terms are often used as though they mean the same thing, but they serve different purposes.
Honing
Honing helps realign an edge that has begun to bend microscopically through normal use.
It can help maintain a knife between sharpenings, but it does not restore a seriously worn edge indefinitely.
Sharpening
Sharpening removes a small amount of metal to create a new cutting edge.
This may be done with:
- Whetstones
- Manual sharpeners
- Electric sharpeners
- A professional sharpening service
The best method depends on the knife and your skill level. Follow the manufacturer’s care instructions, particularly for specialty or high-end blades.
Why I Prefer a Magnetic Knife Block
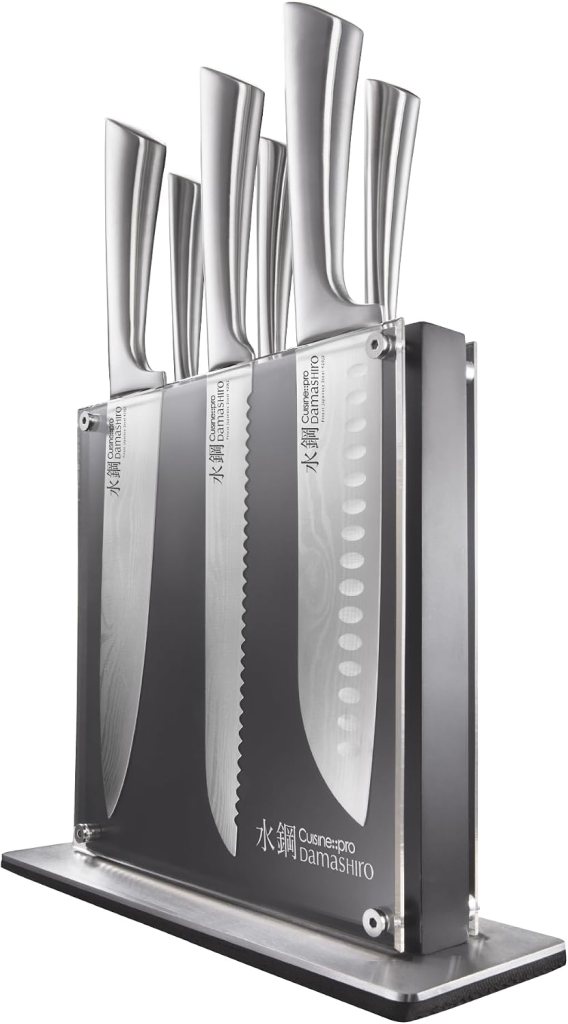
Traditional knife blocks are convenient, but they can take up a surprising amount of counter space.
I had a large block that worked well, but it required roughly twice the space of the newer magnetic style. Even in a large kitchen, counter space is precious. Every bulky item competes with appliances, bowls, ingredients and the actual space needed to cook.
A magnetic knife block holds knives against its outer surface rather than hiding them inside deep slots.
Benefits of a Magnetic Block
- Slimmer countertop footprint
- Knives remain visible
- Easier to identify the blade you need
- No narrow internal slots collecting crumbs
- Modern, attractive appearance
- Convenient access while cooking
- Flexibility for knives of different shapes
What to Check Before Buying One
Look for:
- Strong, evenly distributed magnets
- A heavy or stable base
- Enough room between knives
- A smooth surface that will not scratch blades
- A shape that fits beneath your cabinets
- Safe placement away from children
Place knives against the block carefully rather than slapping or dragging them across the surface.
Other Safe Knife-Storage Options
A magnetic block is my personal preference, but it is not the only good solution.
Traditional Knife Block
A traditional block is convenient and keeps edges covered.
However:
- It takes up counter space.
- You may not see which knife is in each slot.
- Moisture or crumbs can become trapped inside.
- Each knife must fit the assigned slot.
Never place a damp knife into a block.
In-Drawer Knife Organizer
An in-drawer organizer keeps the counter clear and protects blades from loose contact with other utensils.
It can be a great choice for:
- Small kitchens
- Minimalist counters
- Homes with limited vertical clearance
- Anyone who prefers knives out of sight
Make sure the drawer cannot be easily accessed by young children.
Magnetic Wall Strip
A wall-mounted magnetic strip saves both counter and drawer space.
It must be:
- Mounted securely
- Positioned away from children
- Strong enough for the weight of the knives
- Installed where clothing and hands will not brush against exposed blades
Individual Blade Guards
Blade guards protect knives stored inside drawers or carried between locations.
They are useful for:
- A very small collection
- Travel
- Shared kitchens
- Cooking classes
- Knives that do not fit a block
Never place good knives loose in a drawer. Reaching into a pile of hidden blades is dangerous, and contact with other utensils can damage the edges.
Use the Right Cutting Surface
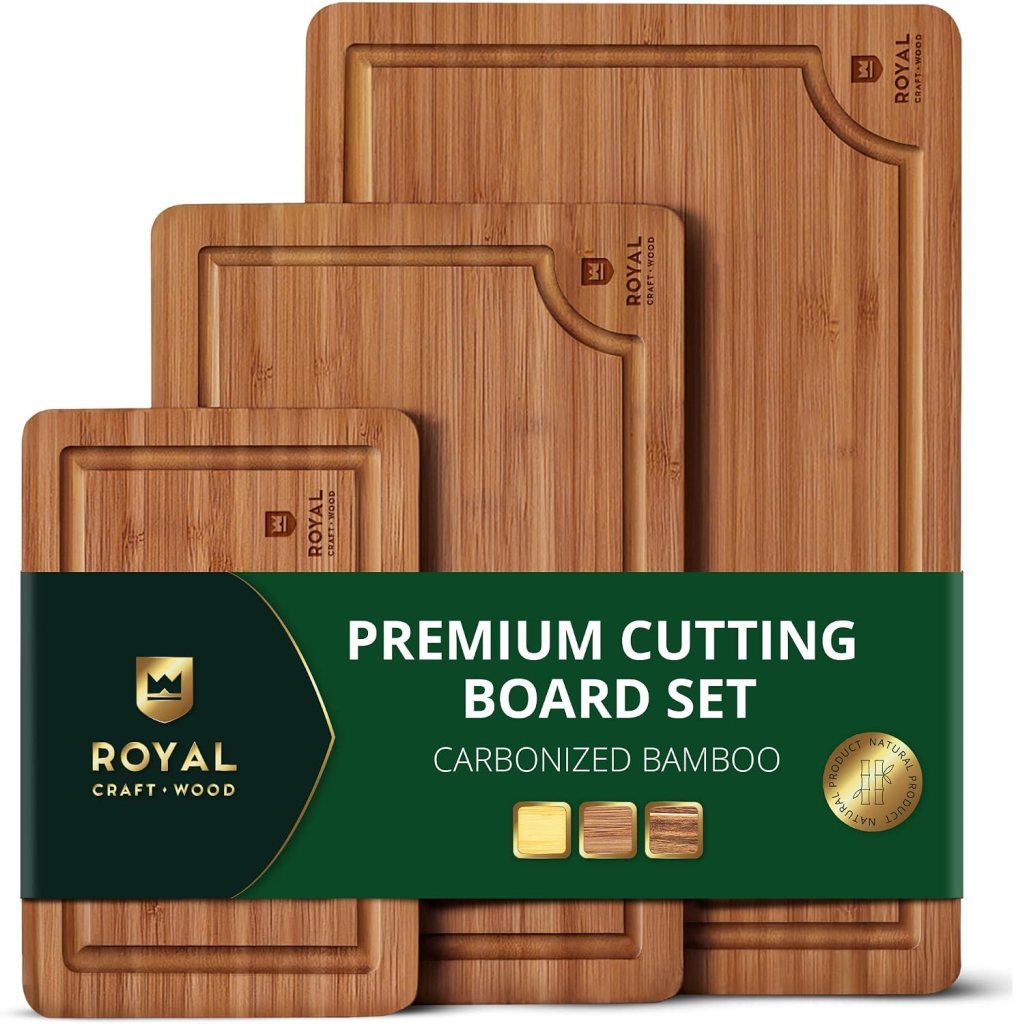
A quality knife deserves a suitable cutting board.
A hard surface may look beautiful, but glass, stone and marble are extremely hard on knife edges. Save those materials for serving, pastry work or decoration rather than everyday chopping.
Better cutting surfaces generally include:
- Wood
- Titanium
- Quality plastic
- Other knife-friendly materials designed for food preparation
Always use a clean cutting board and keep foods such as raw meat and poultry away from foods that will not be cooked. Separate boards or cutting board mats can make that system easier to manage.
One Large Board Is Not Enough for Every Job
A large wooden chopping board is wonderful for serious meal preparation, but not every task requires a giant workspace.
Keep one or two smaller boards that you can easily move around the kitchen.
They are useful for:
- Cutting a lime for a drink
- Slicing a lemon for tea
- Preparing a snack
- Cutting one tomato
- Slicing cheese
- Trimming herbs
- Preparing fruit
- Handling a small sandwich ingredient
Pair a small board with a good paring knife and suddenly tiny tasks become faster and produce much less cleanup.
How to Season a Wooden Cutting Board Before Using It
Many new wooden cutting boards benefit from conditioning before their first use unless the manufacturer states that the board has already been treated.
Use:
- Food-grade mineral oil
- A product specifically sold as cutting-board oil
- A cutting-board conditioner made from appropriate food-safe ingredients
Do not use ordinary olive, vegetable or other cooking oils unless the board manufacturer specifically recommends them. Many edible oils can oxidize and eventually develop unpleasant odors.
Step-by-Step Cutting-Board Seasoning
- Read the manufacturer’s instructions.
- Clean the board as directed.
- Dry it thoroughly.
- Apply a generous layer of food-grade mineral oil.
- Rub it over the top, bottom, sides and handle openings.
- Allow the oil to absorb for several hours or overnight.
- Wipe away anything left on the surface.
- Repeat if the wood absorbs the first application immediately and still appears dry.
Condition both sides rather than oiling only the cutting surface. Uneven moisture exposure can contribute to warping.
What Can Happen If You Skip It?
Untreated, very dry wood can absorb moisture and food residue more readily.
Over time, poor care may contribute to:
- Staining
- Lingering odors
- Raised grain
- Cracking
- Splitting
- Warping
- Uneven drying
- Mold growth
Oil does not make wood waterproof or eliminate the need for proper cleaning. It helps slow moisture absorption and keeps the board from drying out as quickly.
I Learned the New-Board Lesson the Hard Way

I once bought a wooden board that I intended to season before using.
Before I got the chance, my sisters came over and cooked with me. They did not know the board had not been conditioned and used it anyway. One of them wiped it with the sponge from the sink, and the untreated wood later developed spotted mold.
I knew better than to use the sink sponge on a food-preparation surface, but in a shared kitchen, other people may not know which supplies are safe for which job.
The experience was an expensive reminder:
Season a new wooden board before putting it into circulation, and tell anyone cooking with you how it needs to be cleaned.
Do Not Use the Sink Sponge on Your Cutting Board
A sponge that has been sitting around the sink may have touched:
- Dirty dishes
- Food residue
- Grease
- The sink basin
- Raw-food splashes
- Counters
- Old standing water
Use a clean brush, dishcloth or sponge reserved for food-preparation tools.
Wash cutting boards after use with appropriate soap and water, rinse them and dry them promptly. USDA guidance also recommends cleaning cutting boards and replacing those that become excessively worn or develop grooves that are difficult to clean.
Stand a wooden board upright or on its edge so air can circulate around both sides.
Do not:
- Leave it soaking in the sink
- Leave it wet and flat on the counter
- Store it before it is dry
- Put a laminated or handmade wooden board in the dishwasher unless its manufacturer explicitly says it is dishwasher-safe
How Often Should You Re-Oil a Wooden Board?
There is no single schedule that fits every board and climate.
Reapply oil when the wood begins to:
- Look pale or chalky
- Feel rough
- Absorb water quickly
- Develop dry patches
- Lose its conditioned appearance
A new board may need oil more often initially. A well-established board may only need occasional conditioning.
Follow the board maker’s recommendations whenever available.
Protect Your Other Kitchen Tools While You Cook
The wrong tool pairing can ruin expensive equipment surprisingly quickly.
Never Use Metal Utensils on Nonstick Cookware
Metal forks, spoons, knives and spatulas can scratch nonstick coatings.
Use utensils made from materials approved for the pan, such as:
- Silicone
- Wood
- Nylon or other heat-safe nonmetal materials
Health Canada advises using nonmetal cooking utensils to help prevent surface damage to cookware.
Do Not Cut Directly Inside a Pan
Even when the knife seems harmless, cutting food inside nonstick cookware can damage the coating and dull the blade.
Transfer food to a cutting board.
Do Not Put Good Knives in the Dishwasher
Dishwashers expose knives to:
- Heat
- Moisture
- Harsh detergent
- Contact with other utensils
- Movement during the wash cycle
This can damage edges, finishes and handles. Hand-wash knives carefully, dry them immediately and return them to storage.
Cooking Together Without Destroying the Kitchen
Cooking with friends and family is one of my favorite ways to spend time together.
I have heard people say women should not share a kitchen if they want harmony, and I always thought that sounded ridiculous. Cooking is more fun when you are laughing, tasting, chopping and creating something together.
Then I experienced my sisters in my kitchen.
I still love cooking with them. The experience matters more to me than keeping everyone out. But I have also learned that people can grow up in the same house and somehow emerge with completely different ideas about sponges, nonstick pans, knives and wooden boards.
A quick kitchen orientation can save a great deal of money and stress.
Before cooking together, point out:
- Which knives everyone may use
- Which utensils are safe for nonstick cookware
- Which boards are used for raw meat
- Where dirty knives should be placed
- What must be hand-washed
- Which sponge or cloth is safe for prep surfaces
- Where wooden boards should dry
- Which tools require special care
That is not being controlling. It is creating a kitchen where everyone can participate without damaging equipment or creating a food-safety problem.
The Best Knife Set Is the One That Fits Your Kitchen
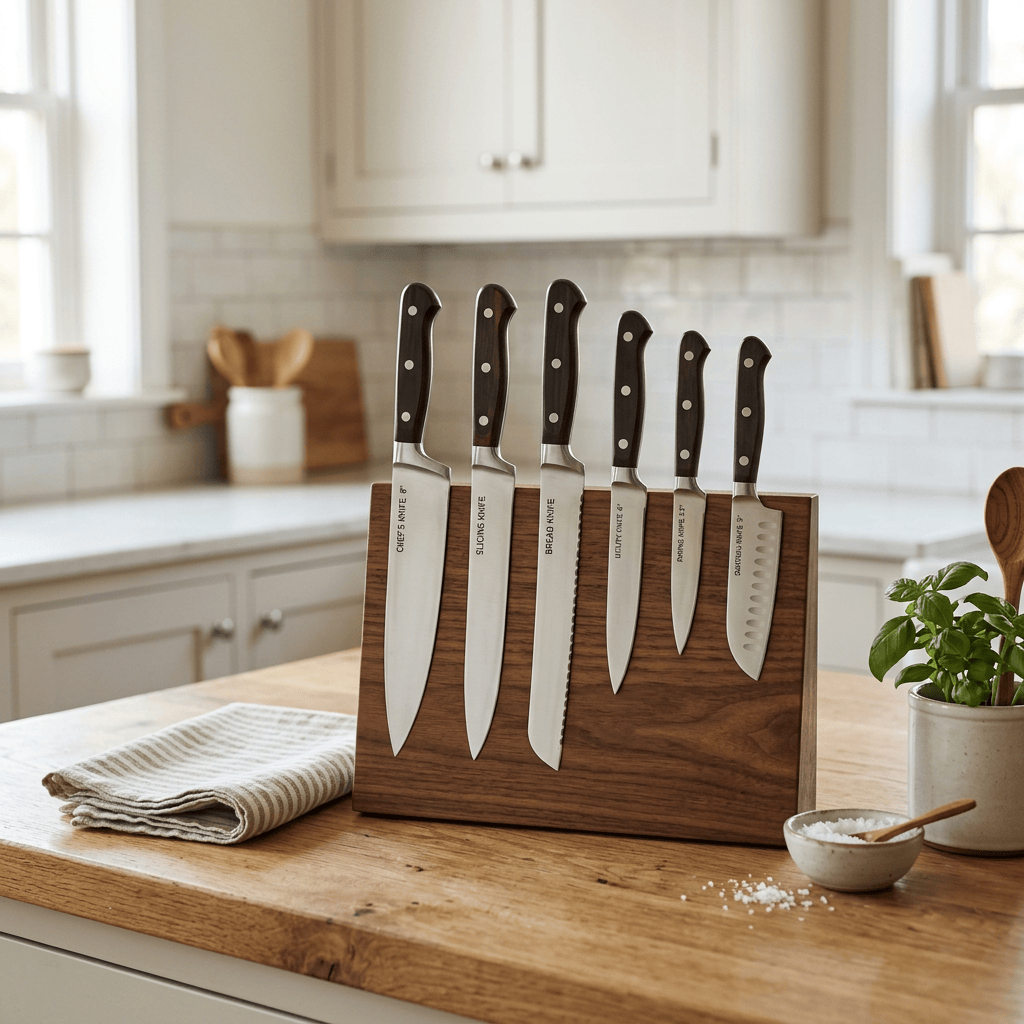
A quality knife set is worth it when it makes cooking easier, safer and more enjoyable.
You do not need twenty knives simply because a block has twenty slots. Begin with the blades you will use constantly, then add specialty knives where they genuinely solve a problem.
For most kitchens, the foundation is:
- A comfortable chef’s knife or santoku
- A small paring knife
- A serrated bread knife
- Safe magnetic, drawer or block storage
- One large cutting board
- Several small movable boards
- A way to hone and sharpen the blades
- Good cleaning and care habits
Buy fewer knives if that allows you to buy better ones. Protect the edges, choose the right cutting surfaces and explain the ground rules before your loved ones descend upon your kitchen like a culinary hurricane.
The goal is not a showroom-perfect room where nobody is allowed to touch anything.
It is a kitchen where cooking feels easy, the tools last and everyone can enjoy making the meal together—without ruining the cutting board, scratching the pans or accidentally slicing a fingie off.
 Life Tips With Love ♥